
Crystal Candle
Workshop Instructions
Use this step-by-step guide to
create your own magical candles!
Step 1
You will need a candle vessel, wick(s), wick sticker(s)/clip(s), wick stabilizer(s), stir stick, 1 oz bottle of fragrance oil.
Gather Your Supplies
Step 2
Clean with alcohol and a paper towel to be sure that the wick(s) will stick properly.
Clean Your Vessel
Step 3
Use wick sticker(s)/clip(s) to secure your wick(s). If using multiple wicks, make sure they are evenly spread apart in the center of your vessel. For cotton wicks, use the wick stabilizer(s) to keep your wick(s) straight and upright.
Secure Your Wick(s)
Step 4
See the instructor when you are ready for wax!
Get Your Wax
Step 5
All mixing of candle wax will be done in your white cup. If you choose to color your wax, now is the time. After you are happy with your color, add your scent. Give your wax a good stir to ensure everything is evenly incorporated.
Mix Your Wax
Step 6
Pour wax into your vessel, slowly, to avoid and splashing and spilling.
Pour Your Wax
Step 7
Your candle will take about and hour to set (more or less depending on the atmospheric temperature) you can take this time to get another beverage!
Let Your Candle Set
Step 8
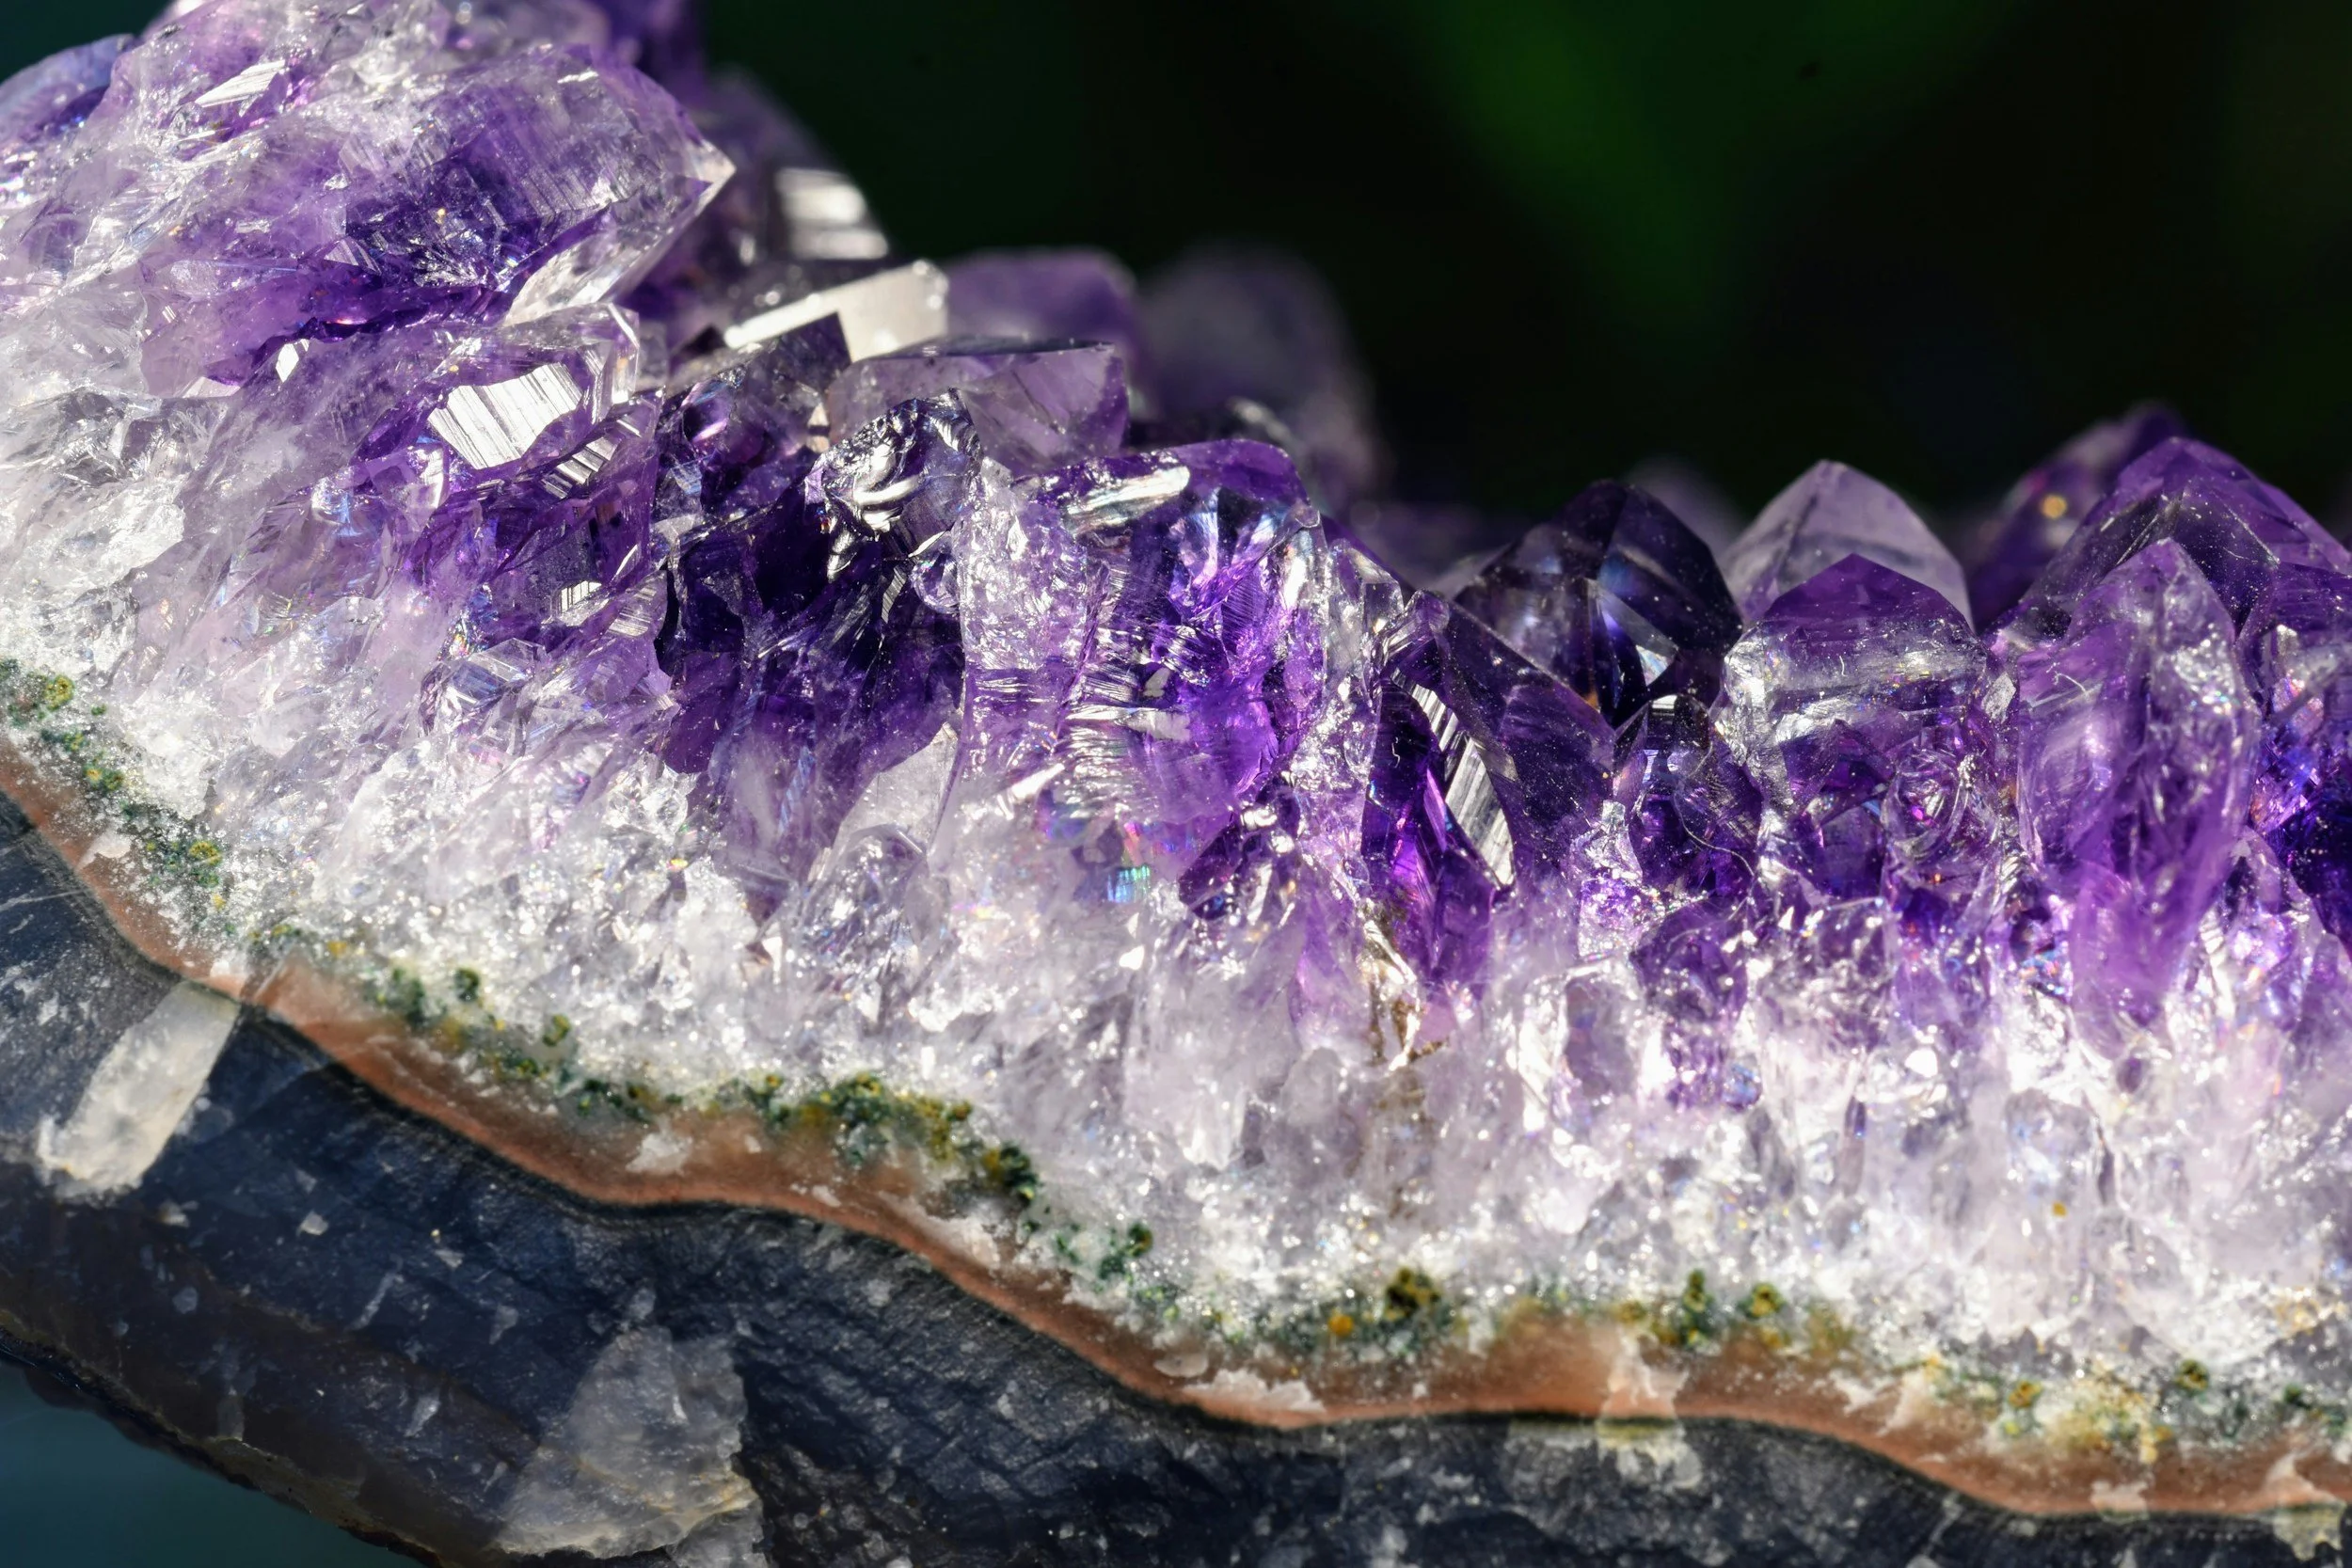
Plan how you want your crystal to be set in your candle. If you want it partly submerged, keep an eye on your setting wax and insert when the wax is firm enough to support your crystal but still soft enough that your crystal can be inserted. If you simply want the crystal to sit on top, your candle can be close to fully set.
NOTE: When placing your crystal in your candle, be sure it will not directly be touching the flame.
Plan Your Decorations
Step 9
Securing Your Crystals
and Decorations
Grab a buddy to help you!
The Instructor can also help you.
Depending on atmospheric temperature, this process may need to move very quickly.
1st person: Use the heat gun to melt the top layer of wax (may need to melt more if you need to submerge your crystal). Keep the gun perpendicular to avoid splashing.
2nd person: Once enough wax is melted, QUICKLY place everything in desired position on top.
If using glitter, that will need to be applied last.
Step 10
Use the black snipping tool to cut the wick to about 1/4” and you’re done!
Snip Your Wicks
Step 11
We want to see what you created!
Tag us on Instagram @ThoseATXChicks